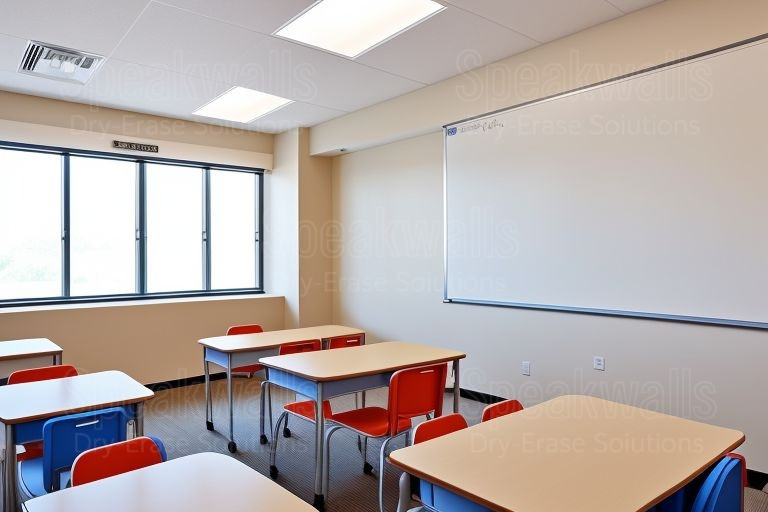
Let’s be real: whiteboards in high schools take a serious beating. Between daily lectures, constant erasing, and years of wear and tear, they can look downright sad. But replacing them? That’s expensive and time-consuming. Luckily, resurfacing whiteboards is a quick, cost-effective way to bring them back to life. Here’s everything you need to know.
What You’ll Need
Resurfacing materials are the star of the show. Peel-and-stick resurfacing sheets are the most popular choice—affordable, durable, and easy to apply. You’ll also need cleaning supplies, a smoothing tool (like a credit card), and a pair of scissors or a utility knife.
Step-by-Step Resurfacing
Clean the Surface: Start by thoroughly cleaning the old board. Use rubbing alcohol or a dedicated whiteboard cleaner to remove all stains and residue. The cleaner the surface, the better the resurfacing sheet will stick.
Measure and Trim: Lay the sheet over the board and measure it to fit. Trim any excess material, leaving a bit extra around the edges.
Peel and Stick: Slowly peel the backing off the sheet and stick it onto the board, smoothing out air bubbles as you go.
Trim the Edges: Use a utility knife to cleanly cut away any overhang for a polished look.
Why It’s Worth It
Resurfacing whiteboards saves schools money and extends the life of their existing boards. It’s quick, easy, and transforms old, ghosted surfaces into like-new tools for teaching. High schools, it’s time to bring those boards back to life!