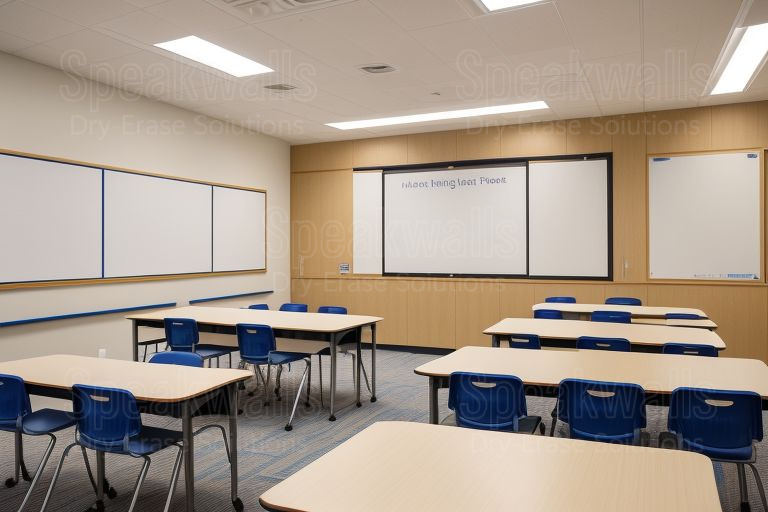
Over time, campus boards can take a real beating—scuffs, stains, and scratches build up, making them less than ideal for presentations or lessons. Instead of replacing them, why not give them a quick makeover? Board resurfacing is a simple, budget-friendly solution to get your boards looking brand new and ready for action.
Start by giving your board a good cleaning. Grab some whiteboard cleaner or rubbing alcohol and wipe away any old marker residue, dust, or grime. This gives the surface a fresh start before applying the resurfacing material.
Next, you’ll want to grab a resurfacing sheet. These peel-and-stick sheets are designed to cover up any imperfections and give you a smooth, writable surface once again. Just measure, cut, and apply. Smooth out any bubbles with a flat tool or credit card for a flawless finish.
The best part? It’s quick and easy. No need to haul out the old board and spend money on a replacement—just resurface it and you’re good to go. Plus, it’s super durable, meaning your board can take whatever your next lecture or brainstorming session throws at it.
With a little bit of effort, you can breathe new life into an old campus board. It’s a cost-effective solution that helps keep classrooms organized and functional without the need for costly replacements. Simple, effective, and ready for anything!