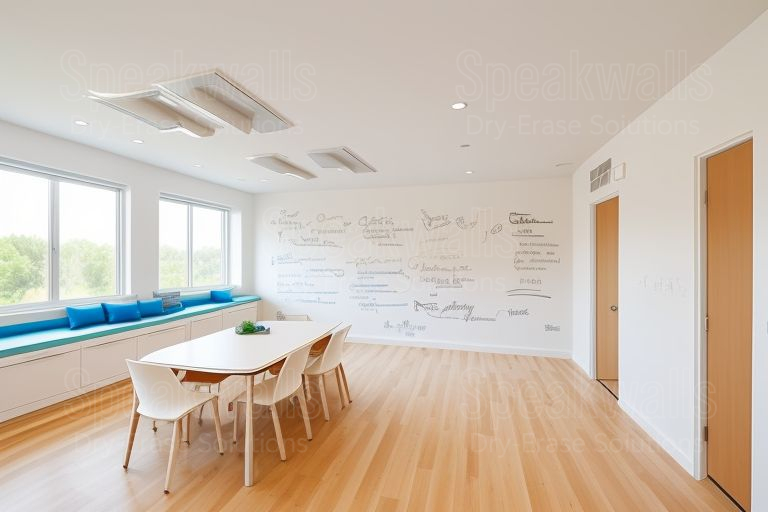
Got a dry-erase board in your classroom that looks like it’s been through one too many lectures? Faded ink, scratches, and ghostly smudges everywhere? Don’t toss it out—resurface it! A little TLC with a resurfacing sheet can make your board look (and feel) brand new without breaking the budget.
First, prep the board. Clean it thoroughly with rubbing alcohol or a whiteboard cleaner to remove all the leftover ink and grime. A smooth, clean surface is key for the next step.
Next, grab a dry-erase resurfacing sheet. These adhesive sheets are a lifesaver. Measure your board, cut the sheet to size, and slowly peel off the backing. Apply it carefully, starting at one edge and working your way across, smoothing out bubbles as you go. It’s a little like wrapping a giant present—except the gift is a sleek, shiny board that’s ready for action.
Once resurfaced, your board is as good as new—perfect for brainstorming, teaching, or just scribbling down random ideas. It’s durable, easy to clean, and makes your classroom look sharp again. Bonus: it’s way cheaper than replacing the whole board.
With a resurfaced dry-erase board, your classroom gets a refresh, and your ideas finally have the space they deserve. It’s a simple fix that makes a big difference. Why settle for smudges when you can have a spotless slate?
